 Sudden Valley Roofing
 Building New in Happy Valley: Why Installation Method Matters More Than the Window Itself
When a house is going up from the studs out, the windows go in a different way than they would on a remodel. New-construction windows have a nailing fin around the outer frame that gets fastened directly to the sheathing before the weather-resistive barrier and siding go on. That sounds simple, but it's the single biggest opportunity in the entire build to get water management right — or to bury a problem that won't show up for five or ten years. In Happy Valley, where the building season is short and the wet season is long, that first install is the one you don't get to redo without tearing into finished walls.
We treat new-construction window work as a sequencing job as much as a carpentry job. The window itself matters, but the order of operations — sill pan, flashing tape, fin fastening, WRB lap — is what actually keeps water out for the next few decades.
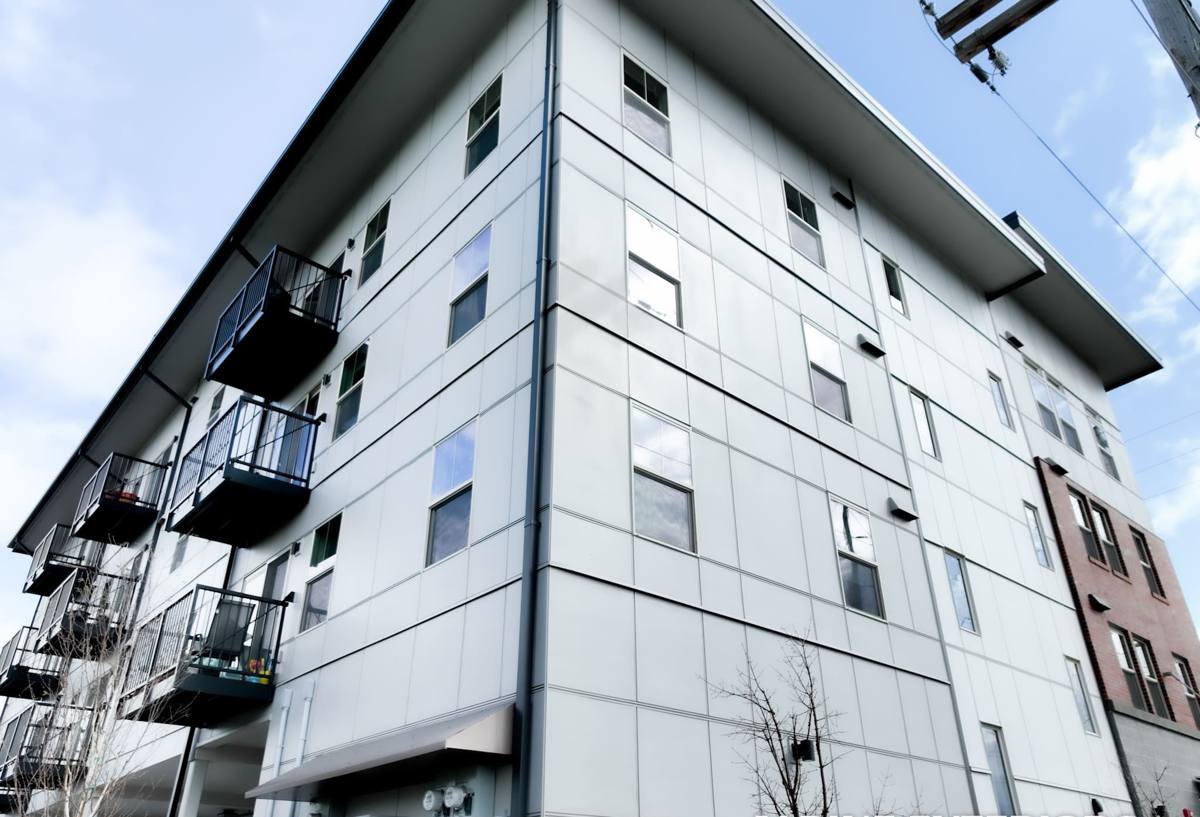
What Whatcom County's Weather Asks of a New Home's Windows
Driving, Wind-Driven Rain
Rain here doesn't just fall straight down — a good winter storm pushes it sideways into wall assemblies, and it can find any gap that isn't properly lapped or sealed. A new-construction window relies on shingle-style flashing (each layer overlapping the one below it) to shed that water outward instead of behind the siding. Get the lap sequence backward, even on one side of one window, and you've built a path for water to travel behind the cladding.
Salt Air and Slow Corrosion
Homes closer to the water pick up salt-laden air that accelerates corrosion on fasteners, hinge hardware, and unprotected metal flashing. It's not dramatic — it's slow, and it shows up years later as streaking, stuck hardware, or a flashing edge that's rusted through. We spec corrosion-resistant fasteners and flashing metals for this reason, not because a builder-grade option is unsafe, just because it ages faster in this air.
A Long Moss and Moisture Season
Whatcom County's moss season isn't just a roof problem. Prolonged dampness around window openings, sills, and trim keeps wood-based components wetter for longer stretches of the year, which is exactly the condition that lets rot and mold get a foothold if the assembly isn't sealed and drained correctly. A window opening that can shed and dry out quickly holds up; one that traps moisture against wood sheathing or trim doesn't, no matter how good the window itself is.
Water Management Starts Before the Window Ever Goes In
The window unit gets most of the attention, but the rough opening prep is where most long-term failures actually originate. Before a window ever sets into the opening, the opening itself needs:
- A sloped sill pan so any water that gets past the window drains back outward, not into the wall cavity
- Flashing tape at the sill and jambs, applied in the correct shingle-lap order
- Head flashing that laps over the WRB above the window, not under it
- A continuous, unbroken weather-resistive barrier tie-in around the full opening
Skipping or reversing any one of these steps doesn't cause an obvious problem on day one. It causes a slow one — moisture intrusion that stains the interior sill two winters later, or sheathing that's soft when the siding eventually comes off for an unrelated repair. New construction is the only point in a building's life where fixing this is simple. After the siding and trim are on, it's demolition.
Frame Material and Glass: What Actually Holds Up Here
There's no single "right" window brand — there's a right combination of frame material, glass package, and installation quality for this climate and this budget. Here's how the common frame options actually compare for a Whatcom County build:
| Frame Material | Moisture Behavior | Maintenance | Typical Lifespan |
|---|---|---|---|
| Vinyl | Good — won't rot, but seals and welds are the weak point over time | Low | 20–30 years |
| Fiberglass | Very good — dimensionally stable in wet/dry cycling, low expansion/contraction | Low | 30–40+ years |
| Wood-clad | Good on the exterior clad face, but any breach at joints or corners exposes wood core | Moderate — exterior clad low, interior wood needs periodic attention | 25–35 years, install-dependent |
For glass, a low-E coating with argon fill is standard on new construction now, and it earns its keep here — it cuts down on the condensation you'd otherwise see on cold, damp mornings, which matters when a house is already dealing with high ambient humidity for months at a time. We also look at U-factor and solar heat gain coefficient relative to which direction the window faces, since a west-facing wall gets a different amount of afternoon sun than a north-facing one.
Our New-Construction Installation Process
The steps don't change house to house, but the attention to sequencing does — this is where a rushed install and a correct one look identical from the curb but behave completely differently in year five.
- Verify the rough opening is square, plumb, and sized correctly before anything else happens
- Install the sloped sill pan flashing
- Apply jamb flashing tape in proper shingle-lap order
- Set the window, check for level and square, and shim without distorting the frame
- Fasten the nailing fin per manufacturer spacing — over-driving or under-driving fasteners both cause problems
- Apply head flashing so it laps over the WRB above the opening
- Tie the WRB back into the flashing system with no gaps or reverse laps
- Insulate the shim space with a low-expansion foam or backer rod, never a foam that can bow the frame
- Seal and caulk the interior and exterior per the window's warranty requirements
Every one of these steps gets checked before the next trade covers it up. Once siding or interior finish goes over a window, there's no visual way to confirm the flashing sequence underneath was done correctly — so we don't move on until it's right.
Mistakes That Don't Show Up Until Years Later
Most new-construction window problems we get called about aren't dramatic leaks — they're slow issues that surface well after the builder has moved on. The pattern is usually the same:
- Flashing tape applied in the wrong order, so water runs behind a layer instead of over it
- No sill pan, so any water that gets past the window sits directly on sheathing
- Fins fastened but not sealed, leaving a path for wind-driven rain at the corners
- Over-shimming or racking the frame during install, which stresses seals and shortens their life
- Foam sealant used in the shim space that expands enough to bow the frame slightly out of square
None of these are visible from inside or outside a finished house. They surface as a stain, a soft spot in trim, or a window that suddenly won't operate smoothly — usually well after any installation warranty has expired.
Coordinating Windows with Your Build Schedule
Windows need to go in at a specific point in the framing sequence — late enough that the rough openings are finalized, early enough that the WRB and flashing can be integrated before siding starts. On a Happy Valley build, that window (no pun intended) also has to work around the wetter months, since flashing tape and sealants perform best applied to dry, clean surfaces. We coordinate directly with the general contractor or builder on timing so the install happens in a dry stretch whenever the schedule allows it, rather than getting rushed in ahead of rain because a downstream trade is waiting.
Why a Crew That Already Works Happy Valley Matters
A window installed correctly on paper can still underperform if the crew doesn't understand how the local weather actually hits a house. Working regularly in and around Sudden Valley and the rest of Whatcom County means we already know which orientations take the worst of the driving rain, how long moss season actually runs here, and what corrosion-resistant hardware is worth the upcharge versus what isn't necessary. It also means if a warranty question or a settling issue comes up two years after your build, you're calling a crew that's still working in the same neighborhood — not tracking down someone who did one job in the area and left.
What Affects the Cost
Pricing for new-construction window packages varies by house, but the factors that move the number are consistent:
| Cost Factor | Why It Matters |
|---|---|
| Frame material (vinyl vs. fiberglass vs. wood-clad) | Material and manufacturing cost differences carry through directly |
| Number and size of openings | More glass and larger units mean more labor and material |
| Glass package (standard low-E vs. upgraded coatings/gas fills) | Performance upgrades add cost but pay back in comfort and condensation control |
| Flashing and sill pan complexity | Doing this correctly on every opening takes time regardless of window brand |
| Site access and build schedule | Coordinating install timing with other trades affects labor efficiency |
We'd rather walk a set of plans with you and give a number based on your actual openings and specs than throw out a broad estimate that doesn't hold up once the order is placed.
A Quick Checklist Before Your Windows Go In
- Confirm rough openings match the ordered window sizes before the order is placed
- Ask what sill pan and flashing tape system will be used, and in what order it's applied
- Confirm fastener and flashing metal are corrosion-resistant, not just standard-grade
- Check that the glass package's U-factor and SHGC fit each window's orientation
- Ask how installation will be verified before siding covers the opening
If you're framing a new build in or around Happy Valley and want the windows handled by a crew that already knows this stretch of Whatcom County, we're happy to look at your plans and put together a straightforward, no-pressure estimate — just fill out the form below.